
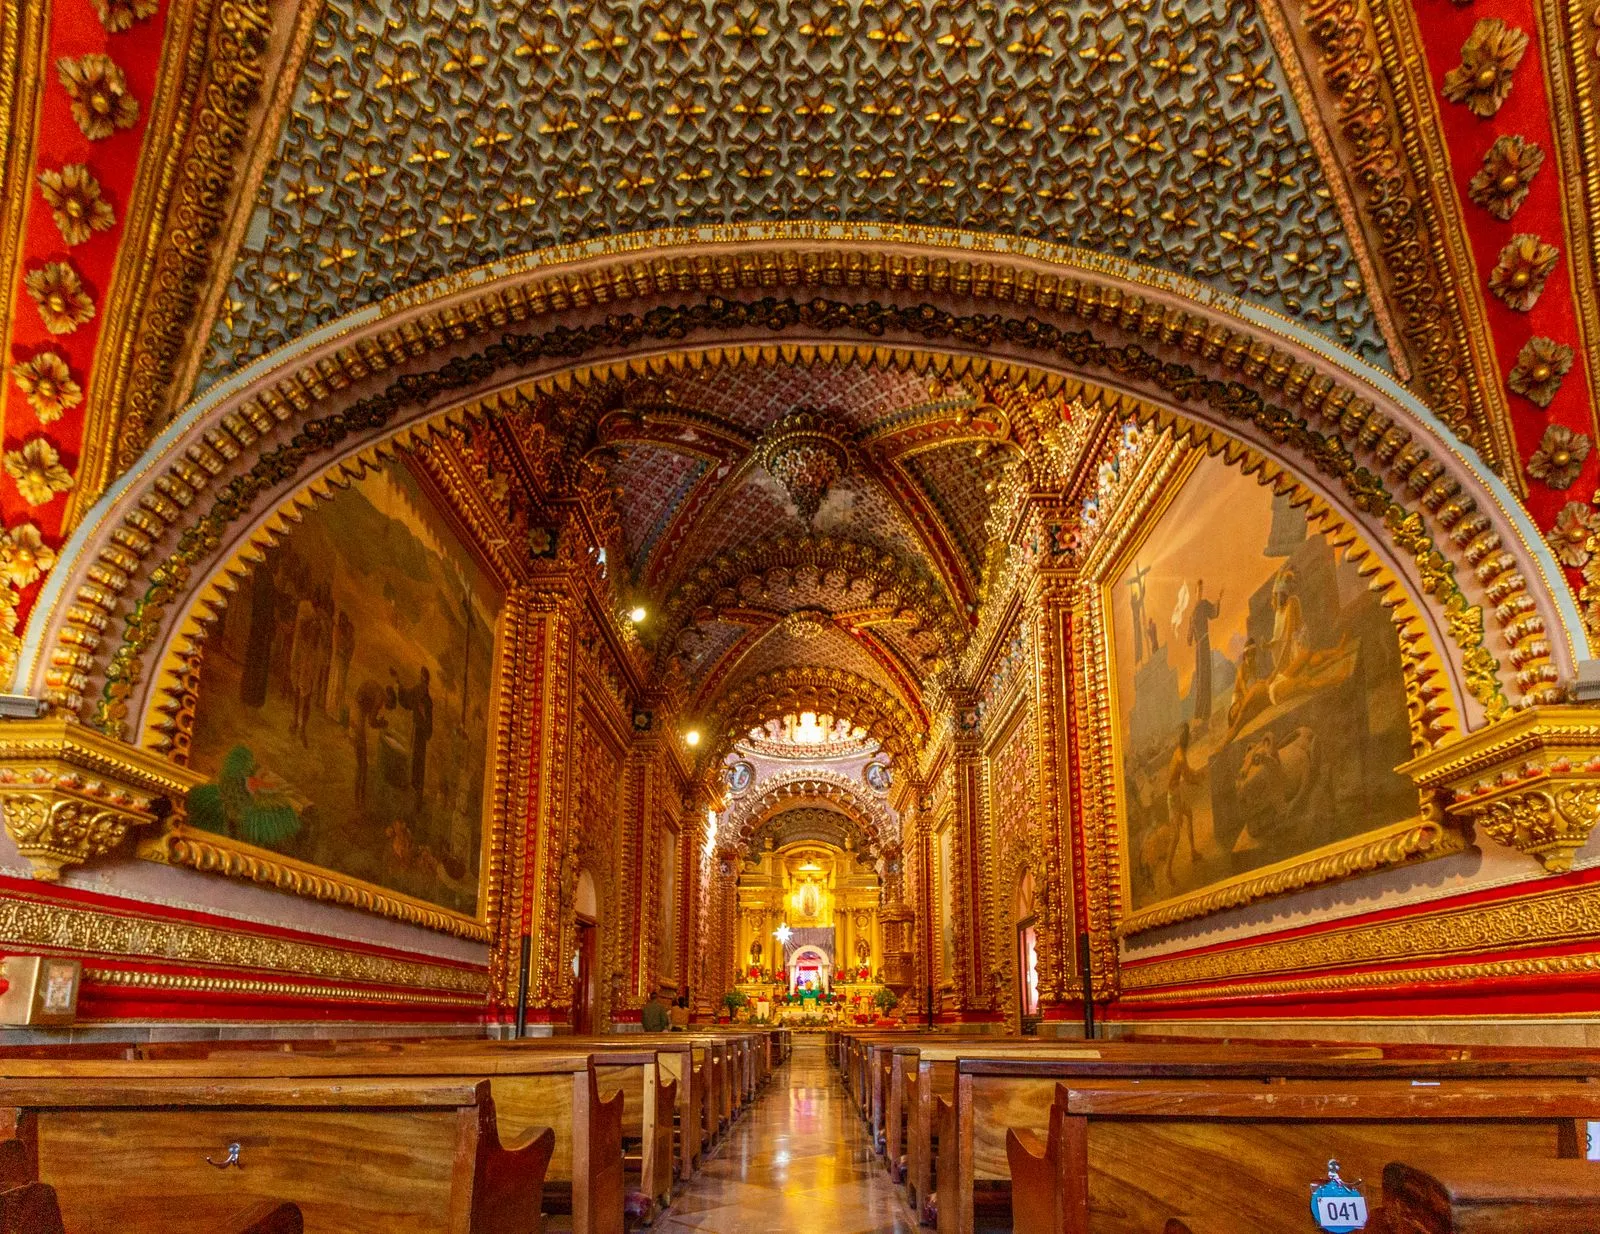
A well-prepared interior helps photographs show a room’s layout, materials, and character clearly. The goal is not to make a space look empty or overly staged. Instead, remove distractions, arrange useful details with intention, and make the most of natural and artificial light. A little preparation before the photographer arrives can also keep the shoot moving smoothly. Use this checklist to review each room and make thoughtful adjustments without losing the way the space feels in person.
Declutter Without Stripping Character
Start by removing items that pull attention from the room: loose cords, mail, remote controls, cleaning supplies, trash bins, and personal products on counters. Clear enough surface area to let furniture and finishes stand out, but do not empty every shelf. A few well-chosen books or objects can make a space feel lived in while keeping the composition calm.
Check what the camera may reveal from several angles. Tuck away items behind doors, under beds, and beside furniture, where they may show in a wider frame. Straighten cushions, fold throws neatly, and make beds smooth. In kitchens and bathrooms, clear counters except for a small number of purposeful accents.
Style for the Room’s Purpose
Arrange furniture so the room’s function is easy to understand and walkways remain clear. Pull pieces slightly away from walls when that improves the layout, and align dining chairs or bar stools for a tidy appearance. In a bedroom, center the bed visually and keep bedside surfaces balanced. Avoid adding furniture just to fill an open area.
Use accessories to add color, texture, or scale—not to cover every surface. Group a few objects with varied heights, such as a vase beside a low stack of books. Choose accents that suit the design and do not compete with strong patterns or architectural details. If you are unsure, remove one item and compare the arrangement.
Make the Most of Light
Clean windows and open blinds or curtains to bring in daylight. If the view outside is distracting, adjust the coverings to soften it rather than blocking all the light. Replace visibly mismatched or burned-out bulbs, and use consistent color temperatures within a room where possible. Mixed warm and cool bulbs can create uneven color in photographs.
Turn on the room lights before the session so the photographer can assess how they work with daylight. Avoid moving lamps or changing bulb settings at the last minute unless requested. Strong direct sun can create harsh patches, so consider the time of day and how light travels through the space. Your photographer can advise on the best shoot timing.
Finish With a Careful Walk-Through
Look for small details that become noticeable in close views: fingerprints on glass, dust on dark surfaces, crooked frames, wrinkled linens, and unevenly placed chairs. Hide visible cords where practical, close toilet lids, and make sure mirrors reflect a tidy area. A quick pass with a microfiber cloth can improve the appearance of glossy counters and fixtures.
Prepare the property before the scheduled start, including any rooms that may be photographed through doorways or mirrors. Keep pets, bags, and extra supplies out of the shooting area. Leave a little time for last-minute adjustments, and tell the photographer about features or angles you especially want captured. Alamo Interior Images can help you plan the session and review room-specific preparation.
Thoughtful preparation helps photographs feel clear, welcoming, and true to the interior. Focus first on removing distractions, then refine the arrangement, light, and small details. You do not need to redesign the space—just make its strongest features easy to see. For guidance on preparing a property for photography, contact Alamo Interior Images.